A stripped screw is one with totally bored-out head cutouts. There is nothing left for the drill’s driver blade or your hand screwdriver to grab. Stripped nuts are a disaster, and no matter what you do, they simply won’t come out. Then frustration sets in, even before you realize it, that once-cross-shaped bolt head has transformed into a large flat screw head.
There are several wonderful suggestions around nowadays, much too numerous to list, and no single approach works on all screws. We will discuss the most commonly known ways of removing a stripped screw here.
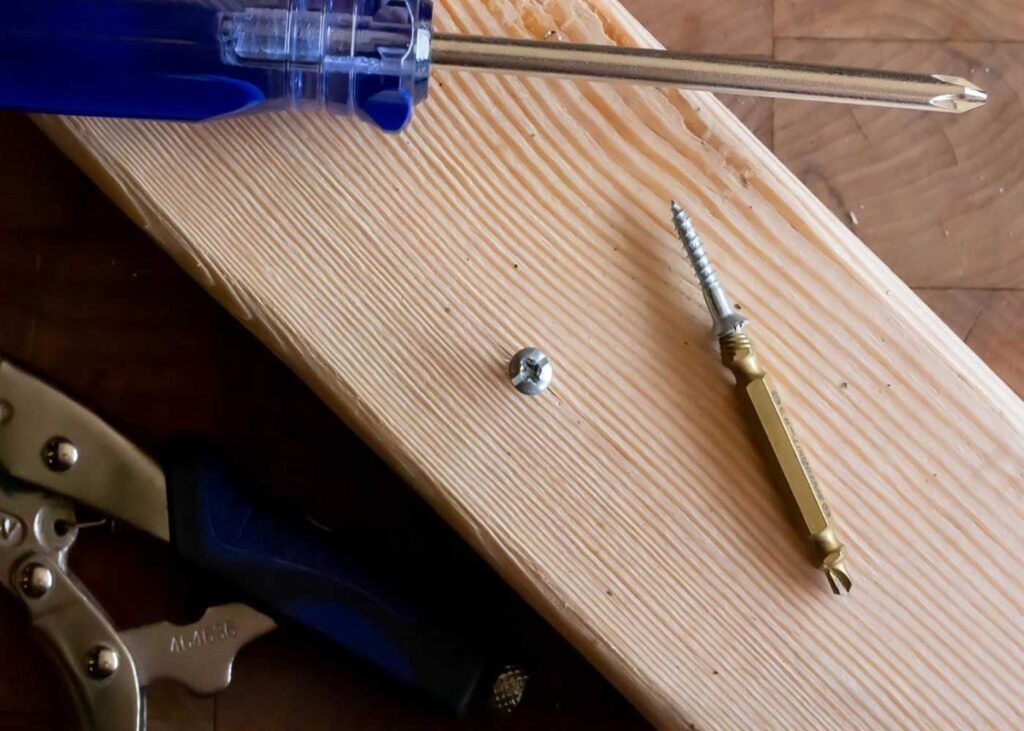
Screws with Stripped Head:
Using a power screwdriver to drive a Phillips-headed screw too quickly or forgetting to drill a pilot hole can cause the cross shape to be stripped away from the screw head, resulting in a damaged screw. It’s impossible to back out or drive the screw any farther once it’s lost its thread. For your project, you’ll need to know how to remove a stripped screw from its socket.
If the screw head protrudes above the surface of the wood, clasp a piece of latching pliers to the screws as close to the surface of the wood as possible and slowly turn it counterclockwise until the screw is fully engaged. Work slowly to avoid snapping the head off.
Lock grip pliers occasionally lose their grasp on the workpiece underneath them, so cut half the width of a tiny piece of cardboard and slide the notched halves over the screw to preserve the wood surface underneath. If you, do it this manner, a slip will not convert into a scratch.
If you have #12 or bigger screws with stripped heads that are flush with the timber (and you don’t want to risk damaging your project), a screw extractor can be of great assistance. For starters, drilling a 1/8-inch-deep hole in the middle of the screw head, large enough to accommodate the biggest single screw extractor that will fit the screw head.
Insert the extractor tip into the starting hole that you previously drilled. To remove the stripped screw remover, slowly turn it counterclockwise while pressing down on the extractor threads until you feel them bite into the screw head. Extraction: Turn the extractor carefully until the screw has been backed out of the wood sufficiently for the locking pliers to hold the screw and complete the removal.
Screws with Broken Head:
Once the head of a screw that has been pushed into place comes loose, you have a far greater problem on your hands. Carefully bore a pilot hole and insert a second screw approximately 1/4 inch away from the next one if you are allowed to leave the damaged screw in place, such as when anchoring a deck board.
Only when screw location cannot be altered by even a quarter-inch, as is the case when installing a hinge, things become more difficult. You’ll go back in after you’ve removed the damaged component and repair any damage you’ve caused.
You will most likely encounter one of three options when trying to try and remove a broken screw:
The screw head breaks off while a portion of the screw shaft remains visible above the surface of the wood. Grab the screw shaft with locking pliers and carefully move it counterclockwise until the screw is free of the head.
The screw cracks at the surface of the wood. Remove just enough woodwork around the shank of the screw with the point of a knife blade with a razor blade so that you can grab the screw tightly and pull it out with the locking pliers without damaging the wood. After that, drill a 1/2-inch diameter hole in the center of the screw hole to finish the job. Fill in the hole with a screw or a wooden plug cut from the same stock as the dowel for a seamless match. If looks are important and the bolt is longer than 1 inch, a dowel finished with a plug can be used to provide enough material for the replacement screw to cling onto.
The screw comes to loose more than 1/8 inch underneath the surface. That’s the moment to consider how critical it is that you have that attachment in that spot before proceeding. Use a 1/2-inch bit to drill down to the fractured end of the screw if you are certain that is what you are dealing with. Make five or six starting points around the screw with the point of nails and moderate taps with a hammer using the point of the nail.
Then, using a 3/32-inch or 7/64-inch drill bit, drill holes directly there next to the broken screw on all sides, starting at the center. Drill a hole that is at minimum as shallow as the screw’s whole length. Awl or nail set can help you twist the screw loose enough so that you can hold it in place with needle-nose forceps and pull it free. Clean up that hole with a 1/2-inch drill bit and refill them with a dowel or plug now that the holes have been cleaned up.
Screw Extractors:
When there is an exceptionally persistent screw that just won’t budge, it may be necessary to resort to a little disruptive behavior.
Screw extractors are a wise option since they are counter-threaded to the way screws are attached – screws have a right-hand twist, while screw extractors have a left-hand spin – and so are easier to use.
Screw extractors are available in several various sizes, but you’ll need to choose the one that will slide into the screw head of the stripped screw to be successful. To hold the extractor securely, insert it into the gauge of the drill and twist the chuck to hold it there.
Put the drill in reverse to save time. Being reverse-threaded, this means that with the drill in reverse, the extractor bit will dig a hole into the stripped screw and gnaw into the screw head, continuing drilling in opposite and the extractor will begin to turn the screw in reverse, allowing it to back out of the material as it is being extracted.
Wood Plug Cutter:
If somehow the stripped screw is embedded deep inside your surface and no other solutions appear to be effective, it may be necessary to resort to more damaging methods. Wood plug cutters are used to remove items from around a deep-set screw, allowing you to gain access to a screw that would otherwise be inaccessible with other tools.
Make use of an automatic drill and insert the plug cutter so that it is above the screw. As soon as the plug cutter makes contact with the wood, complete the tasks from above and across the stripped screw till the plug cutter reaches the screw head level.
Disconnect the plug cutter and any junk it may have left behind, and then check to see if you can gain entry to the screw head for removal.
Fill the Hole for Safety:
You could use a dowel to fill in the holes caused by broken screws, but the finish grain of the dowel will not suit the face grains of the wood in the surrounding area. A plug cutter is required for this task. To arrange the board for a plug, you’ll need to drill a hole in it that is the same size as the plug you intend to use. Drill slowly and carefully to avoid splintering the wood throughout the process. Then glue and insert a dowel that is approximately 1/2 inch shorter in length than the hole to complete the filling. Tapping it underneath the with an upside-down nail and pounding the point will allow you to drive it as far as possible into the surface.
Final Words:
These are the ways we have found out from our consultation with the experts. What methods do you use? Leave a comment!