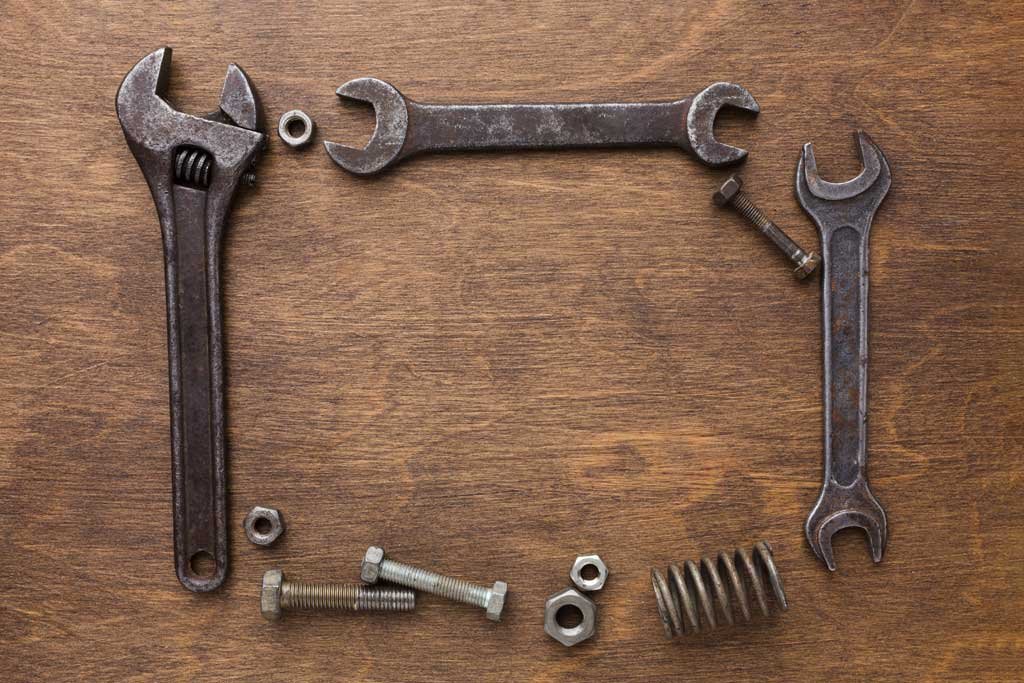
Before You Grab That Adjustable Wrench…
“Imagine this: you’re all set for a quick fix around the house — maybe tightening that stubborn bolt on your bike, or dealing with a leaky pipe under the sink. You reach into your toolbox, pull out your trusty adjustable wrench, and think, “Easy job, I’ve got this.”
But then… the wrench slips. Your knuckles slam into cold metal. The nut looks a little more rounded than before. And now? What should’ve been a five-minute task has turned into an hour of frustration.
Sound familiar? You’re not alone.
Here’s the thing — adjustable wrenches are incredible tools. They’re like the Swiss Army knife of the wrench world, able to fit a whole range of nuts and bolts with just a quick twist of the thumb screw. But here’s the catch: they only work well if you know how to properly size an adjustable wrench. And that little detail makes the difference between smooth, satisfying success… and a whole lot of wasted time (and sore hands).
Why does this matter so much?
Because using the wrong size doesn’t just slow you down — it can:
- Strip your bolts, making them useless.
- Damage your wrench over time.
- And yep, leave you nursing bruised knuckles.
So, in this guide, we’re going to break it all down together. I’ll walk you through what an adjustable wrench really is, why sizing it right matters, and the exact steps to get that perfect snug fit every time. We’ll also talk about common mistakes, pro tips, and even how to keep your wrench in top shape for years.
Think of this as the conversation you’d have with a handy friend who’s been there, made the mistakes, and figured out the tricks. I’ll keep it light, casual, and practical — because tools should make your life easier, not more complicated.
By the time you’re done here, you’ll know not just how to use your adjustable wrench, but how to use it like a pro. And trust me, the next time you feel that perfect grip around a bolt, you’ll wonder how you ever lived without this little bit of knowledge.
What is an Adjustable Wrench?
Before we get into the how, let’s talk about the what.
An adjustable wrench (sometimes called a “Crescent wrench,” after the famous brand that popularized it) is basically a chameleon of the tool world. Unlike fixed-size wrenches that only fit one nut or bolt size, an adjustable wrench has a movable jaw. With a twist of the thumb screw (the “worm gear”), you can open or close the jaws to fit fasteners of many sizes.
It’s like carrying an entire set of wrenches in one — which is exactly why DIY lovers, mechanics, and even plumbers can’t live without it.
A quick peek at history
Fun fact: The first adjustable wrench was patented back in 1842 by a Swedish inventor named Johan Petter Johansson. Yep, it’s been around for nearly two centuries, helping people tighten and loosen just about everything you can imagine. Can you imagine living in the 1800s and suddenly having a “magic wrench” that fits everything? That must have felt revolutionary.
How Does an Adjustable Wrench Work?
Okay, let’s zoom in and really understand what’s going on when you pick up an adjustable wrench. It might look simple — just a handle with a moving jaw — but there’s a lot of clever engineering packed into this little tool.
Breaking Down the Parts
An adjustable wrench is made up of a few key components, each with its own job:
Fixed Jaw (Stationary Side):
This is the solid part that’s built into the handle. It doesn’t move. Think of it like the foundation of a house — strong, sturdy, and reliable. When you apply force to turn a nut or bolt, this jaw takes most of the pressure.
Movable Jaw (Adjustable Side):
This jaw slides back and forth to match the size of the fastener. It’s connected to the worm screw and rides along a track cut into the wrench.
Worm Screw (Thumb Screw or Adjustment Knob):
This little spiral gear is the real hero. When you twist it with your thumb, it rotates inside a set of grooves. Those grooves push the movable jaw either closer to or farther from the fixed jaw. In short, the worm screw translates your small thumb movement into precise jaw adjustments.
Handle (Lever Arm):
The long metal shaft attached to the jaws. Its length matters — longer handles give you more torque (more twisting power) with less effort. Shorter handles are easier to use in tight spaces.
The Science Behind the Wrench
So, how does it actually work when you put it on a bolt?
Let’s break it down in simple terms:
- When you adjust the jaws, you’re matching the width of the wrench to the size of the nut or bolt head.
- Once it’s snug, the fixed jaw presses firmly against one side of the fastener, while the movable jaw presses against the opposite side.
- When you apply force to the handle, the torque (rotational force) travels down the handle and into the jaws.
- Because the fixed jaw is directly attached to the handle, it carries most of the load. The movable jaw follows along, but that’s why positioning matters (we’ll get to that).
In other words: the wrench works by creating a secure clamp around a fastener and then using leverage to turn it.
Why Jaw Positioning is Critical
Here’s something a lot of beginners don’t realize: which side of the wrench you use makes a big difference.
- If you place the fixed jaw on the load side (the side where you’re pushing or pulling), the wrench stays stable. The movable jaw just tags along.
- If you flip it the wrong way and put the movable jaw on the load side, it tends to spread apart under pressure. That’s when the wrench slips, and your knuckles meet cold steel.
So, a big part of how the adjustable wrench works smoothly is about using the jaws correctly.
The Role of Leverage
The beauty of the wrench isn’t just the adjustable jaws — it’s also about leverage.
Think about it: when you push on the end of the handle, you’re basically multiplying your strength. The longer the handle, the more torque you generate. That’s why a 12-inch adjustable wrench makes loosening a stubborn bolt way easier than a 6-inch one.
Can you imagine trying to loosen a rusty car bolt with a tiny 4-inch wrench? You’d be sweating bullets. But swap it for a big boy 12-inch, and suddenly it feels like the bolt just gives up. That’s leverage at work.
Precision vs. Flexibility
Here’s the trade-off with adjustable wrenches:
- They’re flexible because they can fit many sizes.
- But they’re less precise compared to fixed-size wrenches.
Why? Because no matter how well you adjust it, the movable jaw always has a tiny bit of play. That’s why professionals often reach for sockets or box-end wrenches when precision is critical. Still, for general use, the adjustable wrench’s versatility outweighs the small downside.
In Action: The Step-by-Step Movement
Let’s imagine loosening a bolt:
- Open the jaws wider than the bolt.
- Slide the wrench onto the bolt head.
- Tighten the worm screw until the jaws just touch both sides snugly.
- Pull the handle, with the fixed jaw on the load side.
- The torque transfers down the handle → into the fixed jaw → into the bolt → and voilà, it turns.
It’s simple in action, but the combination of adjustable jaws and leverage is what makes it so effective.
Why It Works So Well
- Adaptability: One wrench replaces an entire set of fixed sizes.
- Efficiency: Quick thumb adjustment means less downtime hunting for the “right size.”
- Strength: Designed from hardened steel to handle a lot of torque.
When you really think about it, the adjustable wrench is a perfect marriage of simplicity and engineering genius. One moving part — the worm screw — transforms a solid hunk of metal into a tool that can handle dozens of tasks.
Why Proper Sizing Matters
You might be wondering, “Okay, but what’s the big deal if it’s a little loose?”
Well, let me tell you — it’s a huge deal.
The risks of using the wrong size:
- Slippage: A loose wrench can slip right off mid-turn. That’s how you end up smashing your knuckles against hard metal (ouch!).
- Damage: The nut or bolt can get rounded off (stripped), making it almost impossible to grip later.
- Frustration: You’ll waste time readjusting instead of just getting the job done.
The benefits of correct sizing:
- Secure grip – The wrench hugs the fastener snugly.
- Efficiency – Every twist counts, no wasted energy.
- Confidence – You feel in control, not at war with your tools.
In short: sizing it right saves your hands, your hardware, and your sanity.
Step-by-Step Guide: How to Properly Size an Adjustable Wrench
Now let’s get into the practical, step-by-step stuff. This is where the magic happens.
Identify the Fastener Type
First things first — look at what you’re working on. Is it a nut? A bolt head? Is it metric (millimeters) or standard (inches)?
Why does this matter? Because knowing the approximate size gives you a head start.
For example:
- Plumbing fixtures often use larger fasteners.
- Bicycle bolts are usually smaller and metric.
- Car mechanics deal with a mix, depending on the make.
Match the Wrench Jaw to the Fastener
Now grab your adjustable wrench. Open the jaws wider than the nut/bolt, then slowly tighten it down until it touches.
⚠️ Important: You don’t want it too tight (where it pinches) or too loose (where it wiggles). Aim for a snug fit — just kissing the sides of the fastener.
Test the Grip
Before applying serious force, give it a little wiggle test. Try a gentle push. If it slips or feels sloppy, readjust. This tiny check can save you from stripped bolts and bruised knuckles.
Positioning for Maximum Torque
Here’s a pro tip: always position the fixed jaw (the solid side) against the side where you’ll apply force. This way, the movable jaw won’t be pushed outward — it’ll stay locked in place.
Think of it like bracing a door. You always want the strongest part bearing the load.
Adjust As Needed
As you work, the wrench may loosen slightly. Don’t be afraid to stop, tweak the screw, and snug it up again. That’s part of the process.
Tips for Using an Adjustable Wrench Correctly
Here are some golden nuggets from folks who use these daily:
- Always pull, don’t push. Pulling gives you more control and reduces the chance of slipping.
- Keep it clean. Dirt and rust can jam the adjustment screw.
- Lubricate the worm screw. A drop of oil makes it glide smoothly.
- Don’t over-tighten the jaw. You’ll wear out the mechanism faster.
- Use the right size wrench length. Small jobs = small wrench. Big bolts = big wrench. Simple rule, but often ignored.
Common Mistakes People Make with an Adjustable Wrench
Here’s the truth: adjustable wrenches are simple tools, but it’s also really easy to misuse them. And when you do, the results aren’t pretty — stripped bolts, bruised knuckles, or even a broken tool. Let’s dig into the most common mistakes people make, and more importantly, how to dodge them.
Using the Wrench When It’s Too Loose
This is probably mistake number one. You open the jaws, slap the wrench on the bolt, and think, “Good enough.” But if there’s even the slightest wiggle, you’re setting yourself up for trouble.
What happens?
- The jaws slip off as soon as you apply force.
- The corners of the nut or bolt get rounded (stripped), making it harder to grip next time.
- You lose efficiency — every twist feels like a battle.
Fix it: Always tighten the jaws until they just touch the flat sides of the fastener. Test it with a little wiggle before applying serious pressure. If it moves, readjust.
Putting the Movable Jaw on the Load Side
This one’s sneaky because most people don’t even know it matters. The wrench has two jaws: one fixed, one movable. If you place the movable jaw against the side where you’re applying force, guess what? It spreads open under pressure.
The result? Slip, slip, slip… and maybe a nice set of bloody knuckles.
Fix it: Always position the fixed jaw on the side that will bear the load. That way, the wrench stays stable, and the movable jaw just tags along for the ride.
Over-Torquing Like It’s a Socket Wrench
Adjustable wrenches are versatile, but they’re not indestructible. Some people treat them like heavy-duty socket wrenches, cranking down on a bolt with all their body weight.
The problem?
- It can warp the jaws, especially on cheaper wrenches.
- The worm screw (adjustment dial) can get damaged.
- You end up shortening the life of your tool.
Fix it: If a bolt is that stubborn, switch tools. Use a box wrench, a socket wrench, or even a breaker bar. Save your adjustable wrench for moderate tightening or loosening.
Using the Wrong Length Wrench
Here’s a classic: using a tiny 6-inch wrench on a massive car bolt, or dragging out a 15-inch monster to tighten a delicate bike screw.
Too short = not enough torque → you struggle endlessly.
Too long = too much torque → you risk overtightening or even snapping the bolt.
Fix it: Match the wrench size to the job. Small fasteners = small wrench. Big, stubborn bolts = longer wrench. Don’t overthink it — just be mindful.
Treating the Wrench Like a Hammer (or Pry Bar)
We’ve all seen it: someone flips their wrench around and uses the handle to whack something. Or worse, they jam it somewhere to use as a lever.
Sure, it might work in the moment, but here’s what really happens:
- The handle bends ever so slightly.
- The jaws fall out of alignment.
- The worm screw loosens up over time.
Fix it: Respect your tools. A wrench is for turning. A hammer is for hitting. A pry bar is for prying. Use the right tool for the job, and your wrench will last for decades.
Forgetting to Recheck the Adjustment
Here’s one that catches even seasoned DIYers. You size the wrench perfectly at first, start turning, and then… halfway through, the jaws have loosened a bit. Suddenly, you’re back to slipping.
Fix it: Pause every couple of turns to check if the jaws are still snug. A quick thumb twist on the worm screw keeps things tight and safe.
Ignoring Maintenance
Believe it or not, a lot of wrench problems aren’t about how you use it but how you care for it. Ever tried adjusting one that’s rusted stiff or clogged with grime? It’s miserable. And if you keep forcing it, the worm screw eventually fails.
Fix it: After each use, wipe your wrench clean. Add a drop of oil to the worm screw once in a while. Store it somewhere dry. That’s it — two minutes of care for years of smooth use.
Gripping at the Wrong Spot on the Handle
Another subtle mistake: some folks grip the wrench way too close to the jaws, thinking it gives them “control.” Others grab the very tip of the handle for maximum leverage, but then struggle to keep it steady.
Fix it: For control and power, grip somewhere in the middle-to-end of the handle. It gives you leverage without making the wrench wobble like crazy.
Using It on the Wrong Job
An adjustable wrench is versatile, but it’s not always the best tool.
For example:
- Precision jobs (like bicycles or machinery) are better served with fixed-size wrenches.
- Super tight bolts may require a socket set or breaker bar.
Fix it: Ask yourself, “Is this the right tool for this job?” Sometimes yes. Sometimes no. Knowing the difference is half the battle.
The Bottom Line
Most mistakes with adjustable wrenches come down to rushing or improvising. You grab it, slap it on, and hope for the best. But with a little patience — sizing it properly, positioning the jaws right, and respecting the tool’s limits — you’ll avoid the frustration (and pain) that comes with sloppy use.
Because honestly, nothing feels better than that smooth, confident twist when your wrench grips perfectly and the bolt gives way.
Adjustable Wrench Sizes: What You Need to Know
Adjustable wrenches come in different lengths, which affects their range and torque.
- 4-inch – Pocket-sized, great for tiny electronics or bikes.
- 6-inch – Handy for small household repairs.
- 8-inch – The all-rounder, perfect for most home projects.
- 10-12 inch – Better for plumbing or car maintenance.
- 15-inch and above – Heavy-duty, for industrial or big plumbing jobs.
Pro tip: Start with an 8-inch for general use, then add a 12-inch if you tackle bigger projects.
Adjustable Wrench vs. Other Wrenches
Sometimes, an adjustable wrench isn’t the best choice.
- Open-end wrenches – More precise, no adjustment needed.
- Box wrenches – Great grip, less chance of slipping.
- Socket wrenches – Faster for repeated turns.
So when should you use an adjustable wrench?
- When you don’t know the exact size.
- When you need flexibility.
- When you want to carry fewer tools.
Care and Maintenance of Your Adjustable Wrench
Want your wrench to last decades (like those vintage ones you see in grandpa’s garage)? Treat it right.
- Wipe it clean after every use.
- Oil the worm screw once in a while.
- Store it dry — moisture = rust.
- Don’t drop it — repeated impacts mess up the jaw alignment.
Take care of your wrench, and it’ll take care of you.
Pro Tips from Mechanics and DIY Experts
Here are a few insider secrets:
- Always use the largest wrench that comfortably fits your space — more length = more torque.
- If the nut is really stuck, try penetrating oil first. Don’t just muscle it.
- Keep a small and large adjustable wrench in your toolbox. Sometimes two are better than one.
- If you feel it slipping, stop immediately. Reset. Forcing it will strip the fastener.
Wrapping It Up: Mastering the Adjustable Wrench
At the end of the day, an adjustable wrench is one of those tools that can either feel like your best friend or your worst enemy. The difference? It all comes down to sizing it properly.
When you take a few extra seconds to adjust the jaws snugly, position the fixed jaw on the load side, and choose the right length for the job, everything just clicks. The wrench grips firmly, the bolt turns smoothly, and you walk away feeling confident instead of frustrated.
On the flip side, rushing through the job — leaving the jaws too loose, forcing too much torque, or using the wrong size — is a recipe for slips, stripped bolts, and those dreaded bloody knuckles we’ve all experienced at least once.
So here’s the big takeaway: knowing how to properly size an adjustable wrench isn’t just about the tool — it’s about respecting the process. With the right technique, your wrench will serve you faithfully for years, whether you’re fixing a bike, tightening plumbing, or tackling a big DIY project in the garage.
It’s a small skill, sure, but it’s one that pays off in a big way. And honestly, there’s something deeply satisfying about getting it right — that perfect snug fit, the clean turn of the bolt, the moment you realize, “Yeah, I nailed this.”
So next time you grab your adjustable wrench, slow down, size it properly, and let the tool do what it was designed to do. Trust me, once you feel that difference, you’ll never go back to “close enough.”
Please read more about the best adjustable wrench.
FAQs
How do I know if my adjustable wrench is the right size?
If the nut or bolt doesn’t wiggle inside the jaws and the wrench feels snug, you’ve got the right size.
Can an adjustable wrench replace a full wrench set?
Not entirely. It’s versatile, but fixed-size wrenches offer more precision and strength.
Why does my adjustable wrench keep slipping?
It’s likely too loose or positioned with the movable jaw on the load side. Try readjusting.
What size adjustable wrench should a beginner buy?
An 8-inch wrench is the perfect starter size for most household projects.
Is it okay to use an adjustable wrench on plumbing fixtures?
Yes, but make sure it’s sized properly to avoid damaging soft finishes like chrome.